
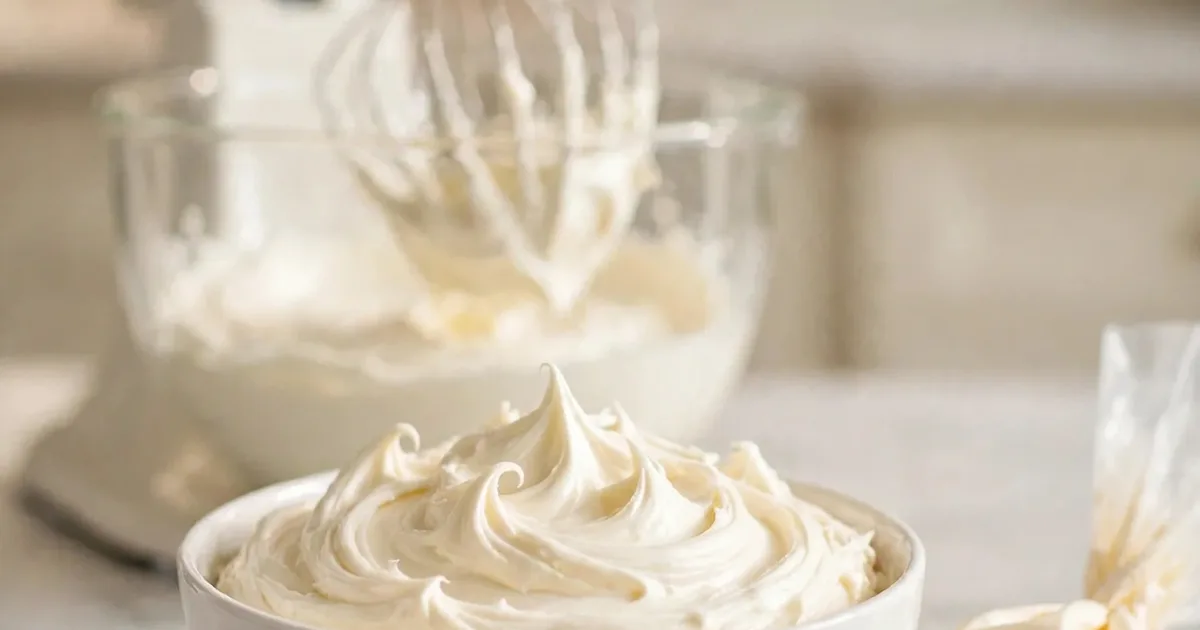
Best Cream Cheese Frosting (Thick, Tangy, Ready in 10 Minutes)
⭐⭐⭐⭐⭐ Rate this recipe
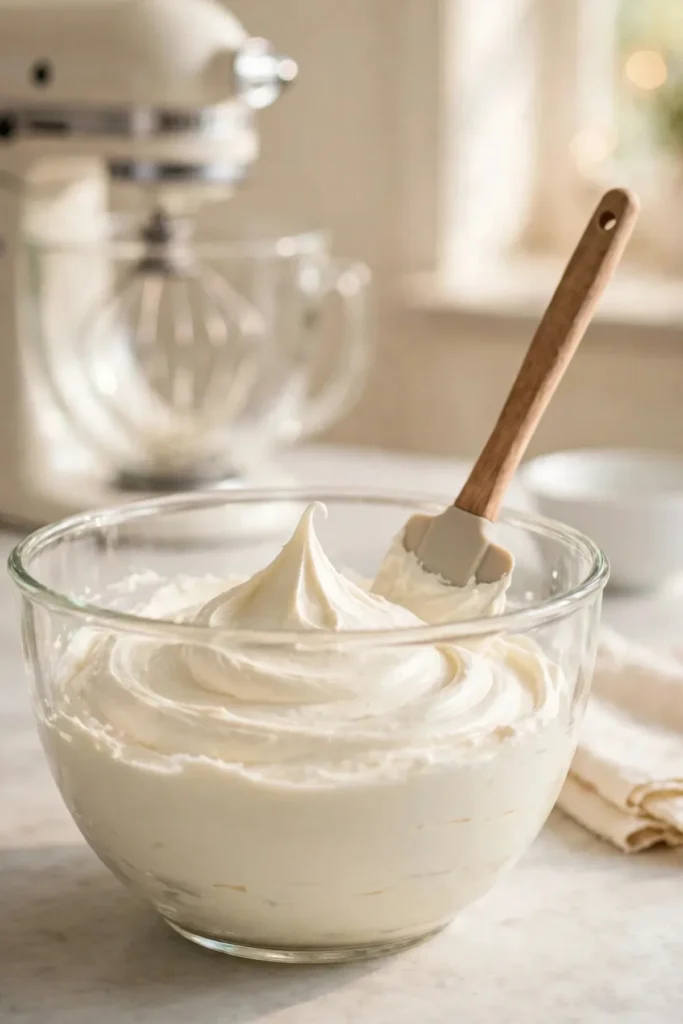
Cream cheese frosting done right is thick enough to hold a stiff peak and pipe cleanly, with a tangy, balanced sweetness that never tastes like straight sugar — not a runny, soupy mess that slides off a cake the second you spread it. This recipe uses just 4 ingredients and a specific mixing order that prevents the single most common failure with cream cheese frosting: a texture too soft to actually frost anything. The entire batch comes together in 10 minutes with no cooking required.
This recipe is built for anyone who’s had a batch of this frosting turn out soupy or grainy and wants a version that works every single time. If you’ve ever watched frosting slide right off a warm cake, or ended up with a gritty, undissolved texture — every one of those problems has a specific fix here. It works for topping red velvet cake, carrot cake, cinnamon rolls, or a simple batch of cupcakes.
Made this already? Scroll down and leave a ⭐⭐⭐⭐⭐ rating below — it helps more than you know.
Once you get the ratio and order right for the frosting, it never turns out wrong again.
⏱ Prep Time: 10 minutes
🕐 Cook Time: 0 minutes
⏳ Total Time: 10 minutes
🍽 Servings: Frosts 1 two-layer cake or 24 cupcakes
📊 Difficulty: Easy
💰 Estimated Cost: ~$4 total / ~$0.17 per serving
🧁 Main Item: Thick, tangy cream cheese frosting
Table of Contents
Why This Cream Cheese Frosting Recipe Works
- Cream cheese and butter beaten alone first. Most recipes dump everything into the bowl at once, which leaves lumps of unmixed cream cheese throughout. This recipe beats the cream cheese and butter together completely smooth before any sugar is added, which eliminates the graininess that ruins so many batches.
👉 another easy dessert recipe here
- Powdered sugar added gradually, not all at once. Dumping in the full amount of sugar at once creates a cloud of sugar dust and an uneven texture. Adding it in stages on low speed keeps the frosting smooth throughout.
- Cold cream cheese, not room temperature. Here’s the truth: most frosting advice says to soften everything, but slightly cold cream cheese actually whips up thicker and holds its shape far better than fully softened.
- A full chill before using. Fifteen minutes in the refrigerator after mixing firms the frosting back up one final time, which is what makes it pipe cleanly instead of sliding.
- No cooking required, genuinely foolproof in one bowl. This entire cream cheese frosting recipe comes together with a mixer and one bowl in under 10 minutes.
Understanding the Key Ingredient

I’ve made this recipe in my own kitchen more times than I can count — always for real cakes, never just for testing. The one step I never skip, no matter how rushed I am, is the key technique in Step 1. Every single time I’ve tried cutting corners on it, the final frosting suffered. Every time I followed it properly, the result was exactly right.
Why Full-Fat Block Cream Cheese Is the Right Choice
Full-fat block cream cheese contains significantly less water than whipped or low-fat versions, which matters enormously for this frosting since excess water is the primary reason frosting turns runny. The dense, solid structure of block cream cheese also whips up with real body rather than collapsing into a loose, soupy texture. Additionally, block cream cheese carries a stronger, more pronounced tang that balances the sweetness of the powdered sugar far better than the milder whipped tubs.
Cream Cheese Comparison Guide
| Type | Water Content | Texture Result | Best For |
|---|---|---|---|
| Full-fat block cream cheese | Low | Thick, holds shape | Best overall result |
| Low-fat block cream cheese | Medium | Slightly softer | Acceptable, less stable |
| Whipped tub cream cheese | High | Runny, won’t hold shape | Avoid entirely |
| Neufchâtel cheese | Medium | Lighter, less tangy | Acceptable substitute |
How to Choose the Best at the Store
- Always buy the block, never the tub. Tub cream cheese has air whipped in and extra water added, both of which work against a stable frosting.
- Check the fat content on the label. Full-fat produces the thickest, most stable cream cheese frosting every time.
- Avoid flavored cream cheese varieties. Plain is the only option that gives you full control over the final flavor.
- Buy slightly cold, straight from the fridge. Unlike butter, cream cheese for this recipe works better cold rather than fully softened.
- Check the expiration date. Fresh cream cheese whips up smoother than cream cheese nearing its use-by date.
How Much Do You Need?
| Servings | Cream Cheese | Butter | Powdered Sugar |
|---|---|---|---|
| 12 cupcakes | 4 oz | 2 tbsp | 2 cups |
| 24 cupcakes / 1 cake | 8 oz | ¼ cup | 4 cups |
| 36 cupcakes / 2 cakes | 12 oz | 6 tbsp | 6 cups |
| 48 cupcakes / layered cake | 16 oz | ½ cup | 8 cups |
Double Batch — How to Scale This Cream Cheese Frosting Recipe
Doubling works cleanly in a stand mixer as long as the bowl has enough capacity — an overfilled bowl makes it hard to fully incorporate the sugar without it flying everywhere. Beat the cream cheese and butter together first exactly as written, just in a larger volume, before adding sugar in the same gradual stages. The chilling time stays the same regardless of batch size.
Ingredients You’ll Need
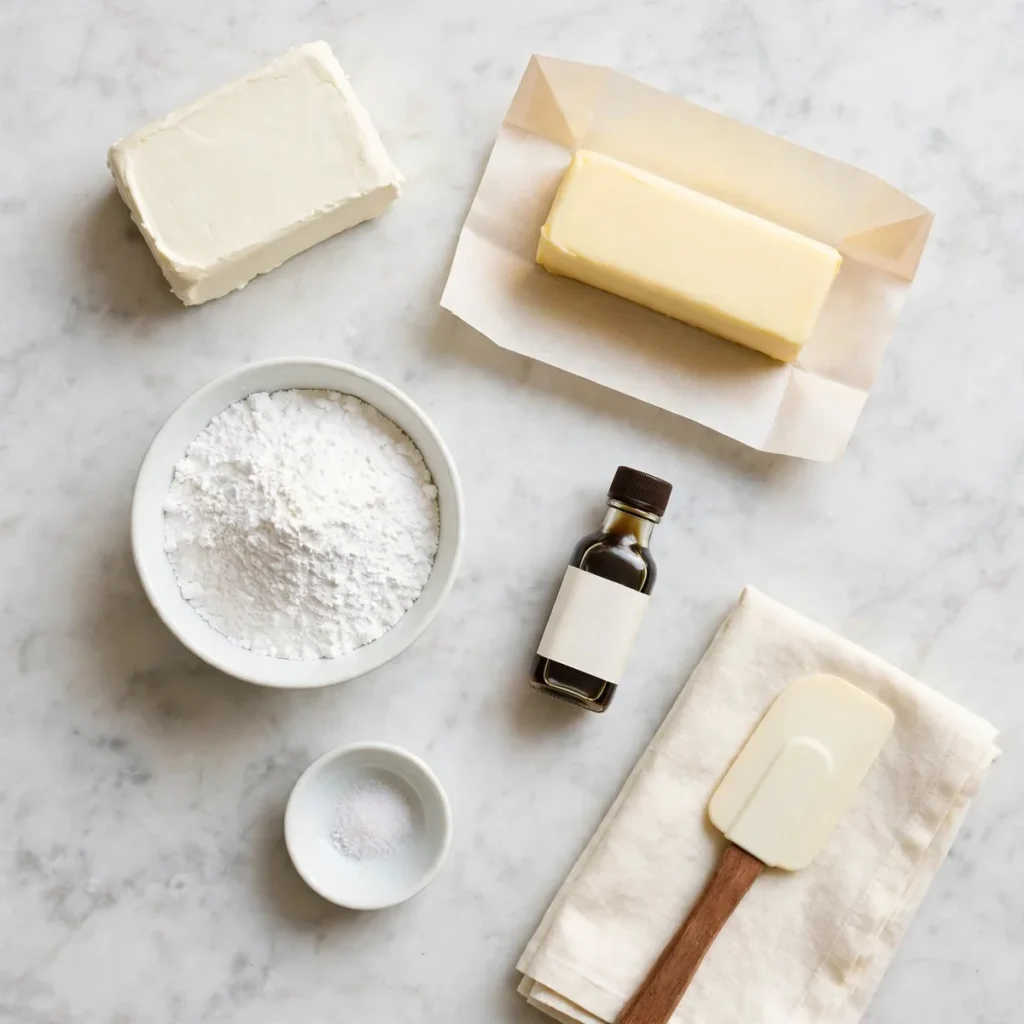
This recipe uses just 4 ingredients. Here is everything broken down.
Main Ingredients
- Cream cheese — 8 oz (1 block), cold. The tangy base of the frosting. Cold, not softened, for the thickest result.
- Unsalted butter — ¼ cup (½ stick), softened. Adds richness and body. Unlike the cream cheese, this does need to be softened.
- Powdered sugar — 4 cups, sifted. Sweetens and thickens. Sifting prevents lumps in the finished frosting.
- Vanilla extract — 1 teaspoon. Rounds out the tang with warmth.
Supporting Ingredients
- Salt — a pinch. Balances the sweetness and makes the tang of the cream cheese more pronounced.
Optional Additions Table
| Add-In | Amount | Effect |
|---|---|---|
| Lemon zest | 1 tsp | Adds brightness to the tangy flavor |
| Heavy cream | 1 tbsp | Lightens texture slightly for a fluffier spread |
| Cinnamon | ½ tsp | Warm spice note, pairs well with carrot cake |
| Maple extract | ¼ tsp | Subtle maple flavor for fall desserts |
| Espresso powder | ¼ tsp | Deepens flavor for a mocha-style frosting |
Complete Substitutions Reference
| Original | Substitution | Notes |
|---|---|---|
| Cream cheese | Neufchâtel cheese | Lighter, slightly less tangy |
| Powdered sugar | Sifted granulated sugar | Grainier texture, not recommended |
| Unsalted butter | Salted butter | Omit the added pinch of salt |
| Vanilla extract | Almond extract (½ tsp) | Stronger — use less |
What NOT to Add to This Cream Cheese Frosting Recipe
❌ Whipped tub cream cheese — contains too much water and air; produces a frosting that never firms up
❌ Warm, fully softened cream cheese — whips up thinner and loses structure compared to using it cold
❌ Unsifted powdered sugar — leaves lumps throughout the finished frosting
❌ Too much liquid flavoring — extra vanilla or other extracts beyond what’s called for thins the texture
❌ Overbeating after the sugar is in — continued beating past the right point can make the frosting too soft
❌ Skipping the chill step — frosting used immediately after mixing is noticeably softer and harder to pipe cleanly
Equipment You’ll Need
Choosing the Right Equipment for Cream Cheese Frosting
| Tool | Purpose | Best For |
|---|---|---|
| Stand mixer with whisk attachment | Mixing | Most consistent, hands-free result |
| Hand mixer | Mixing | Works well, requires holding it |
| Large glass or metal bowl | Mixing | Any batch size |
| Piping bags and tips | Decorating | Clean, professional finish |
Other Tools That Actually Matter
A stand mixer with the whisk attachment produces the most consistently smooth frosting, since it beats continuously without your arm getting tired halfway through. A rubber spatula is essential for scraping down the sides of the bowl, where unmixed cream cheese tends to hide and cause lumps. A fine mesh sieve for sifting the powdered sugar prevents the small lumps that are nearly impossible to beat out once mixed in.
No Stand Mixer? Alternatives That Work for This Cream Cheese Frosting Recipe
- Hand mixer — works just as well, though it takes a bit more active attention than a stand mixer
- Whisk by hand — possible but genuinely tiring; takes 8–10 minutes of continuous whisking to reach the right consistency
- Food processor — pulse the cream cheese and butter together first, then pulse in the sugar in stages, scraping down as needed
How to Make Cream Cheese Frosting — Step by Step
Four steps. Most take under three minutes each.
Step 1 — Beat the Cream Cheese and Butter (The Key Step)
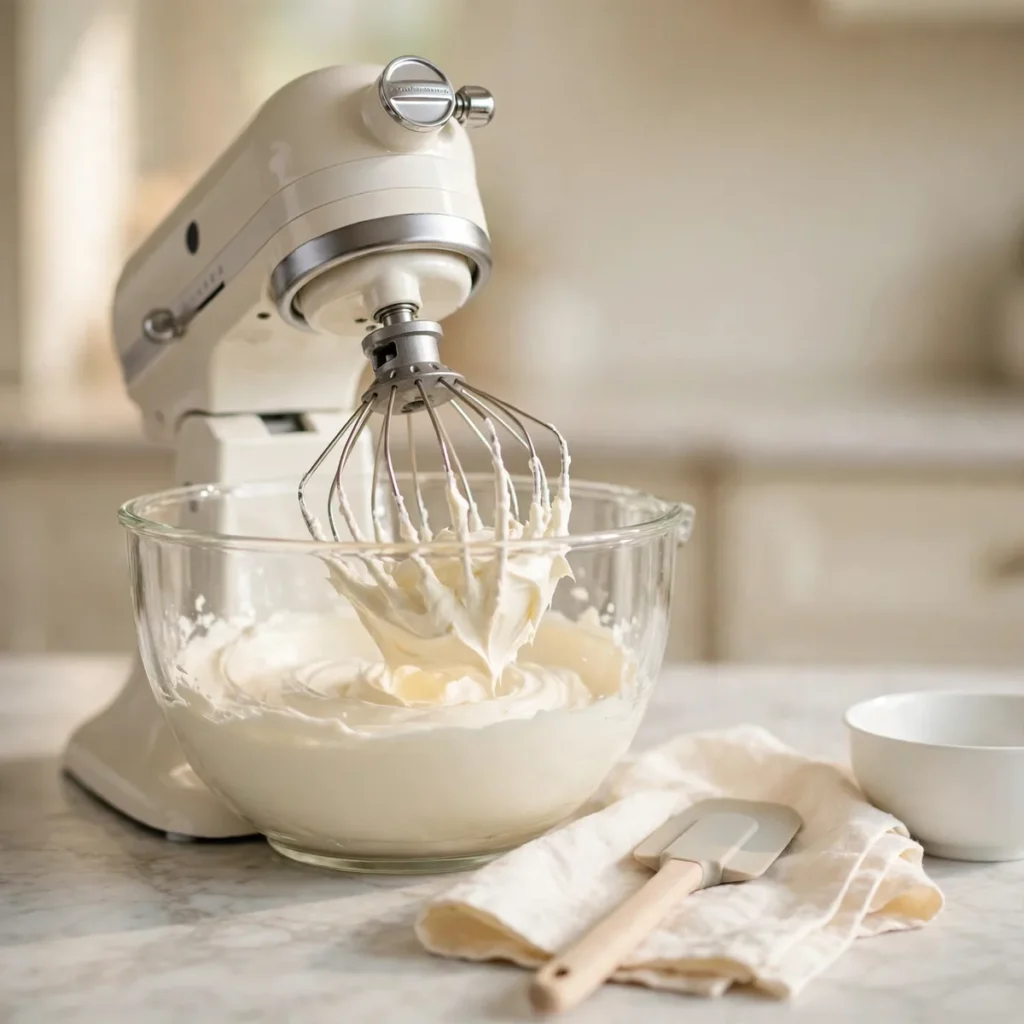
Add the cold cream cheese and softened butter to the mixing bowl. Beat on medium speed for 2–3 minutes, scraping down the sides halfway through, until completely smooth with zero visible lumps of cream cheese remaining. Most people rush this step and start adding sugar too early, but this is exactly what separates a smooth cream cheese frosting from a grainy, lumpy one. Every single time I’ve skipped scraping the sides here, a hidden pocket of unmixed cream cheese showed up later.
💡 Pro Tip: Stop and scrape the bowl at least once during this step — cream cheese likes to hide against the sides and bottom where the beaters don’t always reach.
Step 2 — Add the Powdered Sugar Gradually

Reduce the mixer to low speed. Add the sifted powdered sugar one cup at a time, beating briefly after each addition until incorporated before adding the next. Adding it all at once creates a cloud of sugar dust and makes it much harder to achieve an even texture throughout this cream cheese frosting recipe.
💡 Pro Tip: Drape a clean kitchen towel loosely over the mixer while adding sugar on low speed — it blocks most of the dust cloud without interfering with the beaters.
Step 3 — Add Vanilla and Finish Beating

Add the vanilla extract and salt. Increase the mixer to medium-high speed and beat for 1–2 more minutes, until the frosting looks thick, fluffy, and holds a defined peak when the beaters are lifted.
👉 another easy baking recipe here
As a result, properly beaten frosting at this stage looks glossy and stands up on its own rather than slowly collapsing back down.
💡 Pro Tip: Stop beating the moment stiff peaks form — continued beating past this point can actually soften the texture rather than improving it.
Step 4 — Chill Before Using
Transfer the bowl to the refrigerator and chill for 15 minutes before frosting anything. This brief chill firms the cream cheese frosting back up one final time, which is exactly what makes it pipe cleanly and hold its shape on a cake instead of sliding down the sides.
💡 Pro Tip: If the frosting still feels too soft after chilling, 10 more minutes in the fridge almost always solves it — never add extra powdered sugar to fix softness, since that just makes it overly sweet.
How to Tell When It’s Done
In my kitchen, I’ve learned to trust the texture over the clock for this recipe — but every mixer runs a little differently, so check the peaks closely on your first attempt. Once you’ve made it once, you’ll know exactly what to look for.
Primary Doneness Test
Lift the beaters or whisk attachment straight up out of the frosting. It’s ready when it holds a stiff, defined peak that stands upright without drooping or folding back over within a few seconds.
Doneness Guide
| Indicator | What It Means | What to Do |
|---|---|---|
| Lumps visible in the mixture | Cream cheese not fully beaten first | Return to Step 1, beat longer |
| Frosting looks thin and soupy | Under-beaten or cream cheese too warm | Beat longer; chill before retesting |
| Frosting holds a soft, drooping peak | Close but not quite | Beat 30–60 more seconds |
| Frosting holds a stiff, upright peak | Perfectly done | Chill and use |
| Frosting feels grainy | Sugar not fully dissolved | Beat longer on medium speed |
| Frosting too stiff to spread | Over-chilled | Let sit 5 minutes at room temperature |
Visual Signs It’s Done
- The mixture has gone from loose and separated-looking to uniformly smooth and glossy
- No visible lumps of cream cheese remain anywhere in the bowl
- The texture looks thick and fluffy rather than thin and pourable
- A peak lifted on the beaters holds its shape rather than immediately folding over
- The color is a uniform pale ivory with no streaks
It’s Not Right — What to Do Now
- Frosting turned out runny: Cream cheese was too warm or whipped-tub cream cheese was used — start over with cold block cream cheese
- Frosting tastes grainy: Powdered sugar wasn’t fully beaten in — continue beating on medium speed for another minute
- Frosting won’t hold a peak: Not beaten long enough in Step 3, or skipped the chill — beat longer and always chill before using
- Frosting too sweet: Too much powdered sugar relative to cream cheese — stick to the exact ratios in this recipe
How to Get the Right Consistency

Getting the exact right consistency comes down to technique more than any single ingredient. There are three approaches depending on what you need it for.
Method 1 — Standard Piping Consistency (Recipe as Written)
Beat cream cheese and butter smooth, add sugar gradually, finish with vanilla, then chill 15 minutes. This is the method used throughout this cream cheese frosting recipe and produces a thick, stable texture that holds up well for piping borders or rosettes.
Method 2 — Spreadable Consistency (For Layer Cakes)
Follow the same steps but skip the final chill, using the frosting immediately after mixing while it’s slightly softer. This spreads more easily between cake layers and across the top without tearing a delicate crumb.
Method 3 — Extra-Stiff Consistency (For Detailed Piping)
Add an extra ½ cup of powdered sugar during Step 2 and chill for a full 30 minutes instead of 15. This produces a noticeably firmer frosting that holds intricate piped details and sharp edges better than the standard version.
Troubleshooting Quick Reference
| Problem | Cause | Fix |
|---|---|---|
| Too thin to pipe | Not beaten long enough or skipped chilling | Beat longer, then chill 15-30 minutes |
| Too stiff to spread | Over-chilled or too much sugar | Let sit at room temperature 5-10 minutes |
| Separating or weeping | Cream cheese too warm when mixed | Start over with cold cream cheese |
| Grainy texture | Sugar not sifted or under-beaten | Sift sugar next time; beat longer this time |
What to Use It On

Classic Pairings That Always Work
- Red velvet cake — the single most iconic pairing; the tang balances the subtle cocoa flavor perfectly
- Carrot cake — the tangy frosting cuts through the sweetness and spice of a classic carrot cake
- Cinnamon rolls — spread warm over fresh rolls so it melts slightly into every layer
- Cupcakes — piped on top for a quick, crowd-pleasing finish
- Banana bread — a thick spread turns simple banana bread into a dessert
Comfort Food Pairings
- Pumpkin bars — the classic fall pairing that shows up at every holiday gathering
- Zucchini bread — works the same way as carrot cake, cutting through the sweetness
- Graham crackers — for a quick, simple snack when there’s extra frosting on hand
- Spice cake — the warm spices and tangy frosting complement each other naturally
Lighter Options
- Spread thinly on angel food cake — keeps the overall dessert lighter while still adding flavor
- Use half the standard amount — a thinner layer still delivers the flavor without excess richness
- Pair with fresh fruit on the side — balances the richness of the frosting with something lighter
6 Ways to Use Leftover Cream Cheese Frosting
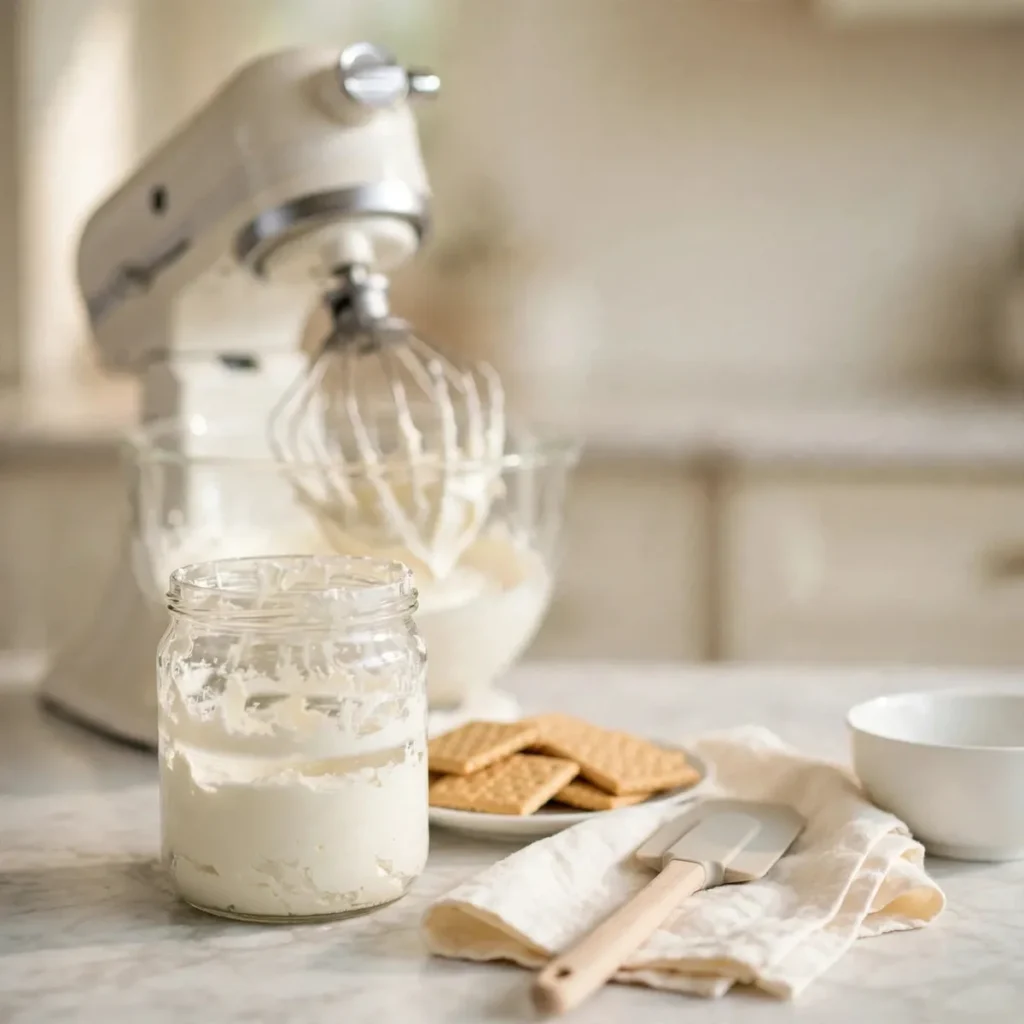
Leftover frosting can be used in several completely different ways. Here are 6 ideas.
Fruit Dip
What you need: Leftover frosting, sliced apples, strawberries, or grapes.
How to assemble: Let the frosting soften slightly at room temperature and serve as a dip alongside sliced fresh fruit.
One tip: A splash of orange juice stirred in loosens it slightly and brightens the flavor for dipping.
Stuffed French Toast Filling
What you need: Leftover frosting, thick-cut bread, 2 eggs, milk.
How to assemble: Spread frosting between two slices of bread like a sandwich, dip in egg and milk, and pan-fry in butter until golden on both sides.
One tip: A thin layer works better than a thick one here — too much filling leaks out during cooking.
Cinnamon Roll Glaze Upgrade
What you need: Leftover frosting, 1 tbsp milk.
How to assemble: Thin the leftover frosting with a splash of milk until pourable, then drizzle over warm cinnamon rolls or coffee cake.
👉 try another easy baking recipe here
One tip: Warm the frosting very slightly before thinning — cold frosting resists blending smoothly with the milk.
Graham Cracker Sandwiches
What you need: Leftover frosting, graham crackers.
How to assemble: Spread a thick layer of frosting between two graham crackers like a sandwich cookie.
One tip: Chill the assembled sandwiches for 10 minutes before eating — it firms the frosting up for a cleaner bite.
Frosting-Stuffed Dates
What you need: Leftover frosting, pitted dates, chopped pecans.
How to assemble: Pipe or spoon a small amount of frosting into pitted dates and top with a chopped pecan.
One tip: This works best with frosting that’s been chilled, since it holds its shape inside the date without oozing out.
Pancake or Waffle Topping
What you need: Leftover frosting, 1 tbsp milk or cream.
How to assemble: Thin the frosting slightly with milk and drizzle over warm pancakes or waffles in place of syrup.
One tip: This pairing works especially well with a cinnamon-spiced pancake or waffle batter.
Storage, Freezing and Reheating Guide
Refrigerator Storage (Up to 1 Week)
This recipe stores in the refrigerator for up to 1 week in an airtight container. It will firm up significantly when cold, which is completely normal – let it sit at room temperature for 10-15 minutes before using, or re-beat briefly to restore a spreadable texture.
Can You Make This Ahead of Time?
Yes — this recipe is genuinely excellent for making ahead. Prepare it up to 3 days before you need it, store covered in the refrigerator, and re-beat for 30-60 seconds right before using to bring back its fluffy texture.
Freezer Storage (Up to 3 Months)
This recipe freezes well for up to 3 months in an airtight container. Thaw overnight in the refrigerator, then let it sit at room temperature for 15-20 minutes and re-beat briefly before using — freezing can cause slight separation that a quick beat fixes right up.
This Recipe Works as a Make-Ahead Baking Staple
Make a double batch specifically to keep on hand for whenever a cake or batch of cupcakes needs topping. Portion into smaller containers before freezing so you can thaw exactly the amount needed for a single cake or dozen cupcakes.
👉 see more make-ahead dessert ideas here
How to Fix Frosting That’s Too Firm After Storage
| Method | Setting | Time | Notes |
|---|---|---|---|
| Room temperature rest | N/A | 10–15 min | Best method for refrigerated frosting |
| Re-beat on low speed | Mixer, low | 30–60 sec | Restores fluffy texture after chilling |
| Add a splash of milk | N/A | — | Only if it stays too firm after re-beating |
Weekly Prep Strategy
Make a batch at the start of the week and store refrigerated. This recipe stays usable for a full week, which makes it convenient to have ready for whatever gets baked throughout the week.
Recipe Variations Worth Trying
Same technique. Completely different flavor profiles. Master this base recipe first — then try one of these.
Most Popular — Maple Cream Cheese Frosting
Replace the vanilla extract with ¼ teaspoon of maple extract and add 1 tablespoon of real maple syrup during Step 3. The maple flavor pairs beautifully with pumpkin bars, spice cake, or carrot cake, making this one of the most requested variations of this recipe during fall.
International — Dulce de Leche Cream Cheese Frosting
Beat in 3 tablespoons of dulce de leche along with the vanilla extract in Step 3. The caramel-like sweetness adds a Latin American-inspired depth that pairs especially well with spiced cakes or chocolate desserts.
Lighter — Reduced Sugar Version
Cut the powdered sugar to 3 cups and rely more on the natural tang of the cream cheese to carry the flavor. Therefore, you get a noticeably less sweet, more intensely tangy version that still holds its shape properly for this recipe.
Quick Shortcut — No-Chill Version
Skip the final 15-minute chill and use the frosting immediately after Step 3. This works fine for spreading between cake layers right away, though it won’t pipe quite as cleanly as the chilled version.
Fresh and Elevated — Brown Butter Cream Cheese Frosting
Brown the butter first: melt in a light-colored pan over medium heat, stirring constantly, until golden and nutty-smelling — about 4–5 minutes. Cool completely and solidify in the fridge before using in place of regular softened butter. The browned butter adds a deep, caramel-like complexity that elevates this simple frosting into something genuinely more sophisticated.
Nutrition Information
Per Serving Breakdown (Based on 24 Servings)
| Nutrient | Amount | % Daily Value |
|---|---|---|
| Calories | ~95 | — |
| Total Fat | 4g | 5% |
| Saturated Fat | 2.5g | 13% |
| Cholesterol | 12mg | 4% |
| Sodium | 25mg | 1% |
| Total Carbohydrates | 14g | 5% |
| Dietary Fiber | 0g | 0% |
| Total Sugars | 14g | — |
| Protein | 0.5g | 1% |
| Calcium | 15mg | 1% |
According to USDA FoodData Central, full-fat cream cheese contains significantly less water per ounce than light or whipped versions — which is exactly why this cream cheese frosting recipe calls for the full-fat block variety to achieve a thick, stable result.
Dietary Compatibility
| Diet | Compatible | Notes |
|---|---|---|
| Gluten-Free | ✅ | Naturally gluten-free as written |
| Dairy-Free | ❌ | Replace cream cheese and butter with dairy-free alternatives |
| Paleo | ❌ | Sugar and dairy both excluded |
| Keto | ❌ | High in sugar from powdered sugar |
| Vegetarian | ✅ | No meat in this recipe |
| Vegan | ❌ | Requires dairy-free cream cheese and butter to adapt |
To reduce sugar in this recipe, cut the powdered sugar to 3 cups and rely more on the tang of the cream cheese – the flavor stays balanced without tasting flat.
8 Mistakes That Ruin Cream Cheese Frosting
Every one of these mistakes is fixable. Know them before you start — not after.
❌ Mistake 1: Using Whipped Tub Cream Cheese
Why it happens: It’s convenient and already soft. What goes wrong: The extra water and air whipped into tub cream cheese means the frosting never firms up properly, staying permanently soft and runny. The fix: Always use full-fat block cream cheese, never the tub version.
❌ Mistake 2: Letting the Cream Cheese Get Too Warm
Why it happens: Following general advice to soften all ingredients. What goes wrong: Fully softened, room-temperature cream cheese whips up thinner and holds its shape far less than cold cream cheese. The fix: Use the cream cheese cold, straight from the refrigerator.
❌ Mistake 3: Adding Sugar Too Fast
Why it happens: Wanting to speed through the process. What goes wrong: Dumping in all the powdered sugar at once creates an uneven texture and a cloud of sugar dust. The fix: Add the sugar gradually, one cup at a time, beating briefly between additions.
❌ Mistake 4: Skipping the Chill Step
Why it happens: Being in a rush to frost the cake. What goes wrong: Frosting used immediately after mixing is noticeably softer and slides rather than holding its shape. The fix: Always chill for at least 15 minutes before using.
❌ Mistake 5: Not Scraping the Bowl
Why it happens: Assuming the beaters reach everywhere. What goes wrong: Unmixed cream cheese hides against the sides and bottom of the bowl, leaving lumps in the final frosting. The fix: Stop and scrape down the bowl at least once during the initial beating step.
❌ Mistake 6: Overbeating After Stiff Peaks Form
Why it happens: Thinking more beating always means a better result. What goes wrong: Continued beating past the point of stiff peaks can actually soften the frosting rather than improving it. The fix: Stop the moment stiff, defined peaks appear.
❌ Mistake 7: Using Unsifted Powdered Sugar
Why it happens: Skipping what seems like an unnecessary extra step. What goes wrong: Small lumps in the sugar don’t fully break down during mixing, leaving a gritty texture throughout. The fix: Always sift the powdered sugar before adding it.
❌ Mistake 8: Frosting a Warm Cake
Why it happens: Impatience to finish decorating. What goes wrong: A warm cake melts the frosting on contact, causing it to slide right off instead of staying in place. The fix: Always let cakes cool completely before frosting, even though the frosting itself sets quickly.
Frequently Asked Questions
Why is my cream cheese frosting runny?
The most common cause is using whipped tub cream cheese instead of full-fat block cream cheese, since the tub version contains significantly more water and air. The second most common cause is letting the cream cheese get too warm before mixing — it should be used cold, not fully softened like the butter. If a batch does turn out runny, chilling it for 20–30 minutes in the refrigerator and then re-beating briefly often salvages it.
How do you thicken cream cheese frosting?
The honest answer: chilling is the most reliable fix, since 15–30 minutes in the refrigerator firms the texture back up without changing the flavor. Beating longer on medium-high speed also helps if the mixture simply hasn’t reached stiff peaks yet. Adding more powdered sugar is a last resort — it works, but it also makes the frosting noticeably sweeter than intended.
Should cream cheese frosting be refrigerated?
Yes — because of the dairy content, this recipe needs refrigeration both before and after it’s used on a cake. Store any leftover frosting in an airtight container in the fridge for up to a week, and refrigerate a frosted cake as well rather than leaving it at room temperature for extended periods.
Can you make cream cheese frosting ahead of time?
Yes — this recipe is genuinely excellent for making ahead. Prepare it up to 3 days before you need it, store covered in the refrigerator, and re-beat for 30–60 seconds right before using to restore its fluffy texture. This also freezes well for up to 3 months if you need to make it even further in advance.
How long does cream cheese frosting last?
This recipe lasts up to 1 week in the refrigerator stored in an airtight container. It firms up significantly when cold, so let it sit at room temperature for 10–15 minutes or re-beat briefly before using it to spread or pipe.
Can you freeze cream cheese frosting?
Yes — it freezes well for up to 3 months in an airtight container. Thaw overnight in the refrigerator, then let it come to room temperature for 15–20 minutes and re-beat briefly before using, since freezing can cause slight separation that a quick beat corrects.
What do you use cream cheese frosting on?
Red velvet cake is the single most iconic pairing, followed closely by carrot cake, where the tang cuts through the sweetness and warm spices. It also works beautifully on cinnamon rolls, cupcakes, pumpkin bars, and banana bread — essentially any dessert that benefits from a tangy contrast to balance its sweetness.
Can you pipe cream cheese frosting?
Yes — once properly chilled, this recipe holds its shape well enough for piping borders, rosettes, and simple swirls. For more intricate, detailed piping work, the extra-stiff variation with additional powdered sugar and a longer chill time holds sharp edges even better than the standard version.
Why does my cream cheese frosting taste grainy?
This usually means the powdered sugar wasn’t sifted before adding, or the mixture wasn’t beaten long enough afterward to fully dissolve any small lumps. Sifting the sugar first and beating for the full recommended time on medium speed both help ensure a completely smooth texture. Using fresh, not expired, powdered sugar also matters more than most people realize.
Can you make cream cheese frosting without powdered sugar?
Powdered sugar is difficult to substitute directly since its fine texture and small amount of cornstarch both contribute to the frosting’s structure. Granulated sugar can be processed in a food processor until very fine as an emergency substitute, but it still won’t dissolve quite as completely, leaving a slightly grainier final texture than the real thing.
You Might Also Like
Homemade Hot Chocolate
Cream Cheese Frosting — Recipe Card


CREAM CHEESE FROSTING
Ingredients
Equipment
Method
- Beat cold cream cheese and softened butter on medium speed for 2–3 minutes, scraping down the sides halfway through, until completely smooth.
- Reduce to low speed. Add powdered sugar 1 cup at a time, beating briefly after each addition.
- Add vanilla and salt. Increase to medium-high speed and beat 1–2 minutes until thick and holding a defined peak.
- Chill 15 minutes before using to frost or pipe.
Notes
Did You Make This?
Tag @thegildedskillet and leave a ⭐⭐⭐⭐⭐ rating below.
— David | The Gilded Skillet
David is a home cook who has spent years developing straightforward, no-fuss recipes that work for real weeknight kitchens. Every recipe on The Gilded Skillet is made, tested, and eaten before it ever gets published — usually multiple times.
